The VoiceMailTel Phone Service provides users with the ability to manage the "real time" component of everyday communications, empowering them to easily manage all incoming calls, increasing their efficiency and productivity.
To be able to manage your VoiceMailTel account in real-time you will have to login to your account. Please go to www.voicemailtel.com and click on the Sign In button, located on the upper right side of the main page. Alternatively, you can go directly to http://manage.voicemailtel.com/portal/login.php.
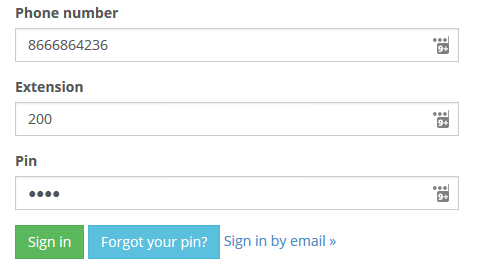
To login to your VoiceMailTel account you will need the information that was sent to you when your account was activated.
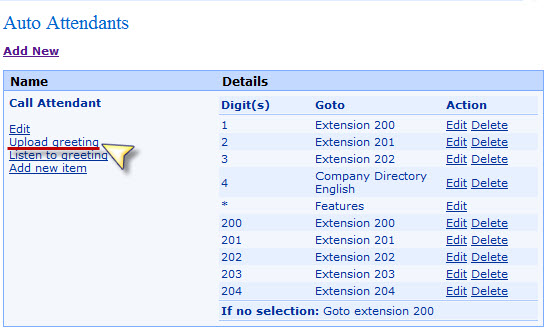
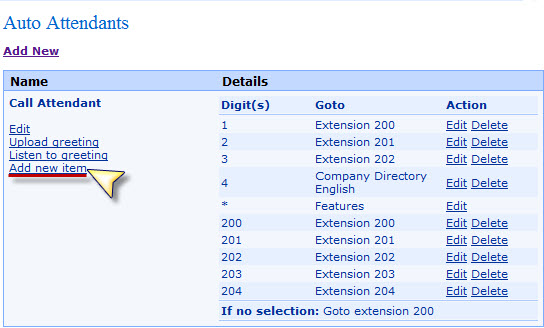
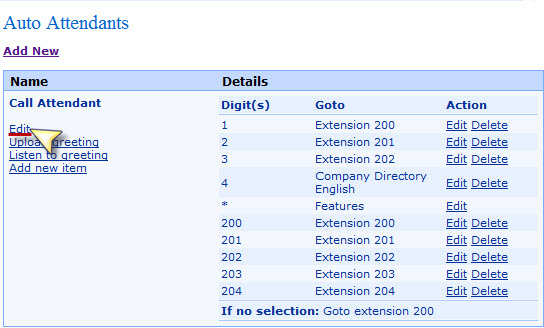
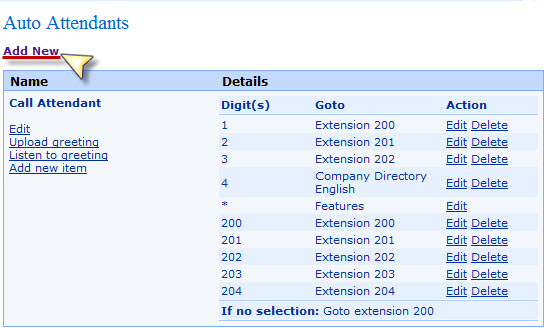
The VoiceMailTel Auto Attendant can be customized directly from your online account. All you have to do is a have a pre-recorded .wav file with your desired Auto Attendant script, and to be logged in on your VoiceMailTel Online account.

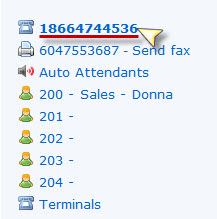
The VoiceMailTel portal gives you the ability to setup your number(s) to handle all incoming calls in a variety of ways. All you have to do is click on the number you want to manage, on the left hand side of your VoiceMailTel Portal.
Once you have done that, you will notice that the first option is called Schedule your Incoming Number, and it gives you the option to set a custom schedule for any of your incoming numbers.

If you want the number to be opened for 24 hours just leave the default settings on. However, if you want your number to allow calls to get to your company`s Call Attendant only during certain hours, make sure you set it up accordingly, and make sure you save your settings by pressing the Save settings button.
E.g. Monday - Friday (9 AM - 5 PM)

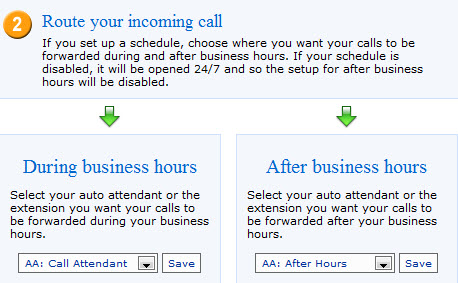
After you setup the schedule for your number just look at the Route your incoming call option and route your number according to your needs. Please remember to click on the Save button every time you modify a setting.
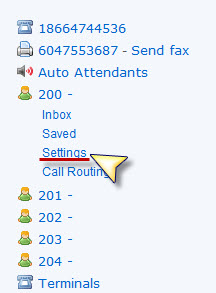
To customize your extension you will have to select the extension you want to make changes to on the extension menu located on the left side of your VoiceMailTel portal.

You will then have to select the Settings option.
Once you have accessed the Settings page, you can edit the following settings for your extension:


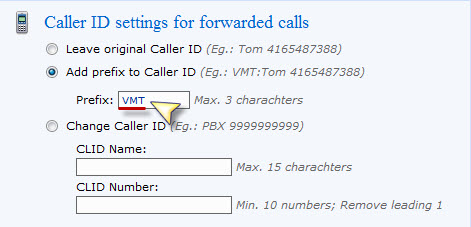
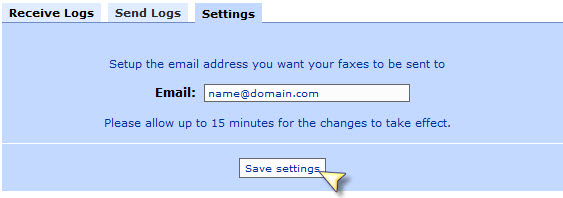
Important: After changing any settings for an extension, you will have to press click on the Save settings button located at the bottom of the page, for the new settings to become effective.
The Call Routing menu deals with the most important part of the VoiceMailTel System: its functionality and flexibility. Most of the settings that influence the way you want your VoiceMailTel service to handle incoming calls are present in this menu.
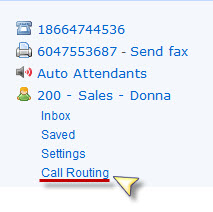
You can set the schedule of the extension, route the call to a terminal, forward the call to another extension, forward the call to external numbers and set your voicemail notification.
If you move your mouse over the icons next to every step's title a pop-up window will show your current settings for that step. You can modify your settings by clicking on the steps' titles.
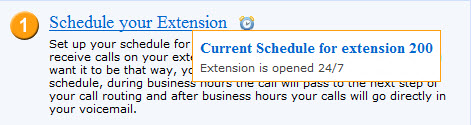
The Schedule your Extension option gives you the ability to set specific business hours, during which calls will be sent to your forwarding number or VoIP device. Outside of the set times all incoming calls for your extension will be going directly to voicemail.
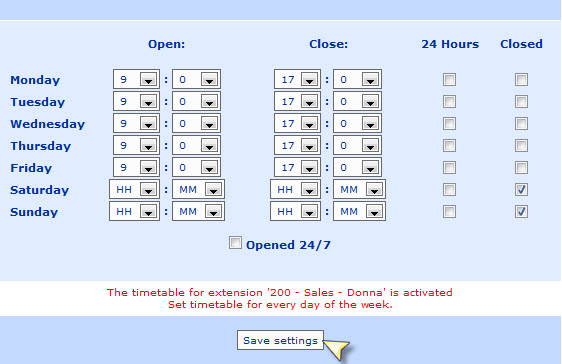
E.g. If you want to receive calls on your extension only Monday through Friday 9 am to 5 pm, then set your extension schedule like in the image above.
Note: Please remember to always save your newly modified extension schedule by clicking on the Save settings button.
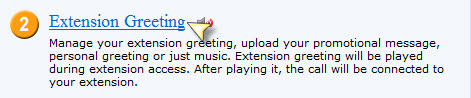
Option 2 in the Call Routing menu gives you the option to set an extension greeting message. This message can play before the call is sent to your forwarding number or VoIP device, every time you receive a call on your extension.
To set your extension`s greeting message just follow these steps:
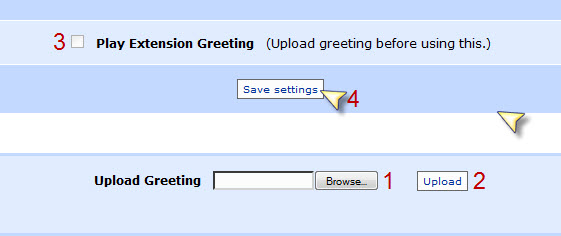
Note: Accepted audio format: *.wav ; 16 bit ; sample rate higher than 8000 hz
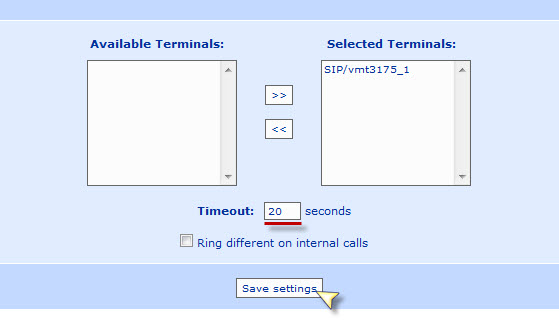
If you are using VoIP devices with your VoiceMailTel Service, you have to know that the Call Terminal option is where you can assign any of your VoIP devices to handle calls for a specific extension.
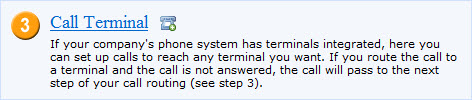
Once you have a terminal created, just go to the extension you want to assign it to, click on Call Routing then on the Call Terminal option, and select the terminal you want to assign to your extension.
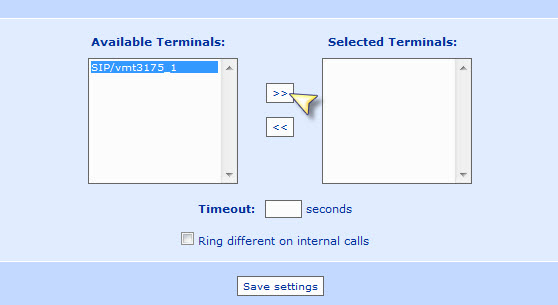
Move the terminal from the Available terminals column to the Selected terminals column, set the timeout to 20 seconds, and click on the Save settings button.


Another useful feature that you will find on the VoiceMailTel online account is the option to forward an extension to another extension on your system.
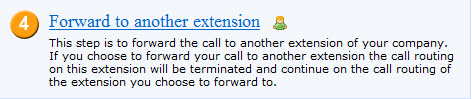
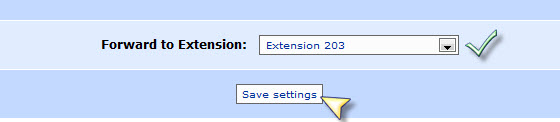
This option is extremely useful when you are out of town or simply don’t want to be disturbed, but you still want your calls to be answered live by one of your employees or co-workers. After selecting this option just select the extension you want to forward your calls to from the dropdown list and save your selection.
Note: If you choose to forward your call to another extension the call routing on your extension will be terminated and the call routing rules of the extension you choose to forward your calls to will be in effect.
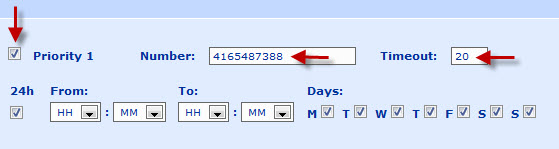
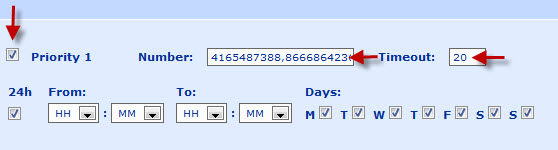
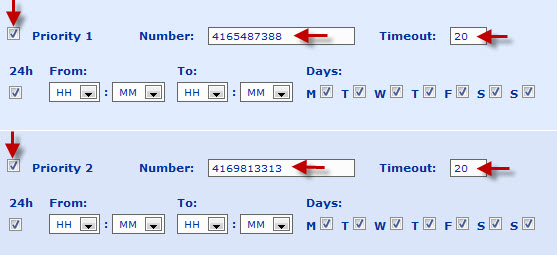
One of the most important options on your VoiceMailTel account is the Forward to external numbers option. This option allows you to setup forwarding numbers for your extension as well as the “track me/ find me” option, commonly known as "call hunting".
Note: Please remember that your forwarding settings do not become effective unless you save them by clicking the Save settings button.
Voicemail settings
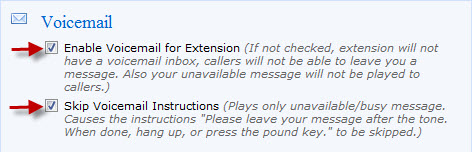
The final option in your Call Routing menu is Voicemail.

Through this option you can modify your voicemail-to-email delivery settings as well as listen or change the voicemail unavailable message for your extension.
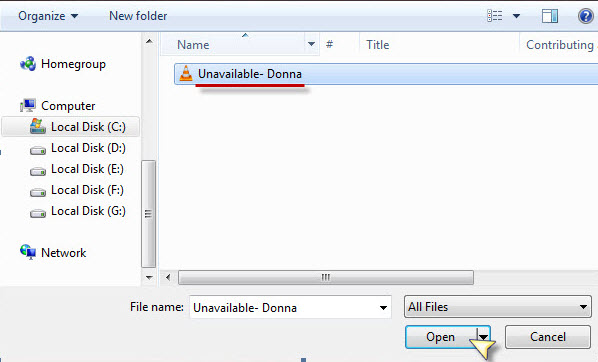
To upload your unavailable message, click on the Browse button.

Select the file you want to upload and click Open.
After you have selected the recording you want to use as your voicemail`s unavailable message simply click on the Upload button.

If your upload is successful and the file is in the accepted format (*.wav; 16 bit; sample rate higher than 8000 Hz), you will have a confirmation message notifying you that your upload has been successful.

The VoiceMailTel Fax service is an easy to use and eco-friendly virtual fax solution. VoiceMailTel gives you the possibility to send and receive faxes by email or through your online account anywhere in the World. Since you don't need paper, toner or hardware, it costs much less than traditional faxing. And because it works wherever you can connect to the Internet, you can send and receive faxes anywhere your business takes you.
There are 2 ways of sending faxes from your VoiceMailTel Fax number. You can send your faxes using your VoiceMailTel Online account and by using your e-mail address.
To send a fax using your VoiceMailTel Fax online account, simply login to your account, click on the Send fax option next to your fax number and follow the steps shown below:
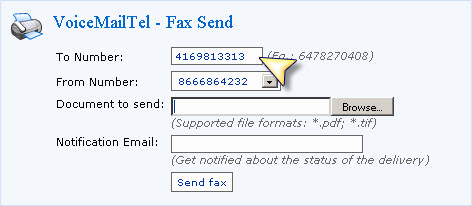
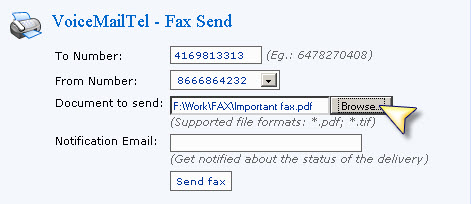
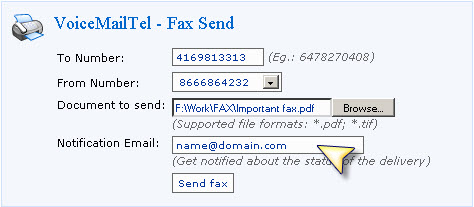
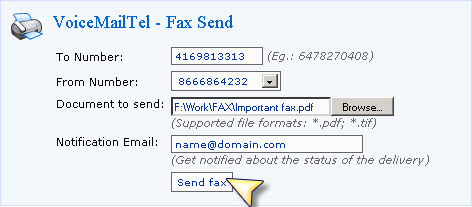


Note: Only one document can be sent with your outgoing fax.
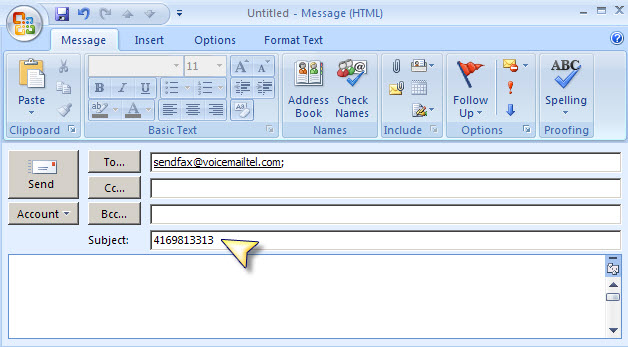
To send a fax through VoiceMailTel’s email-to-fax service, simply send an email message as per the following instructions. Please see the screenshot below.
Important: You can only send a fax via email from an email address that is set to receive voicemail notifications for one of your extensions on the VoiceMailTel Online Account.
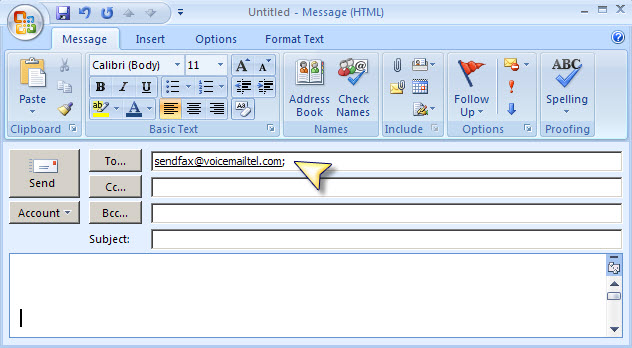
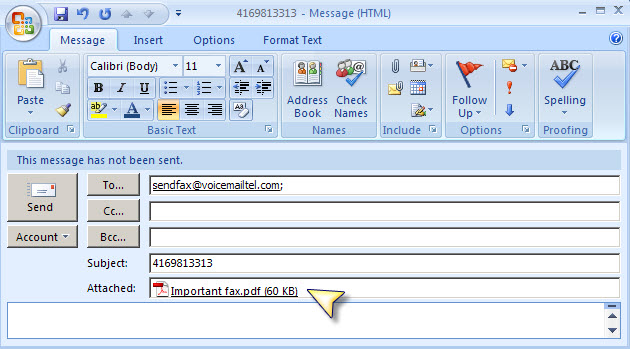
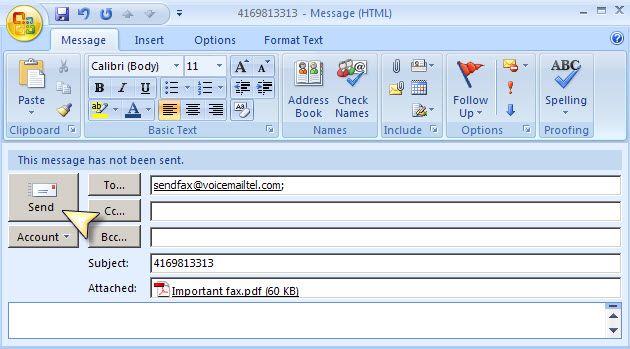
Note: Email-to-fax messages are limited at 1 attachment/ e-mail.
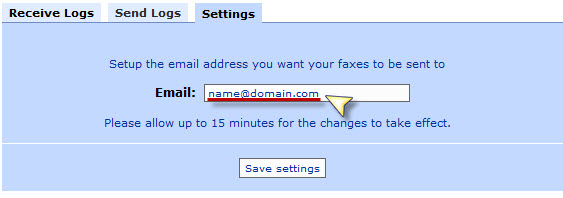
To be able to receive faxes using your VoiceMailTel fax number all you have to do is follow these quick steps: